Partner Portal Guide: User Admin
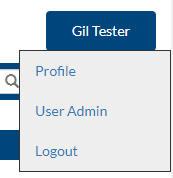
The User Admin page of the Affiliated Partner Portal allows you to manage all your users and contacts who have access to your subscribers’ information either via the Portal or by calling Partner Support with a star code. To access this page, hover your mouse cursor over your name in the upper right-hand corner of the Portal, and click on User Admin.
Viewing Your Users and Contacts
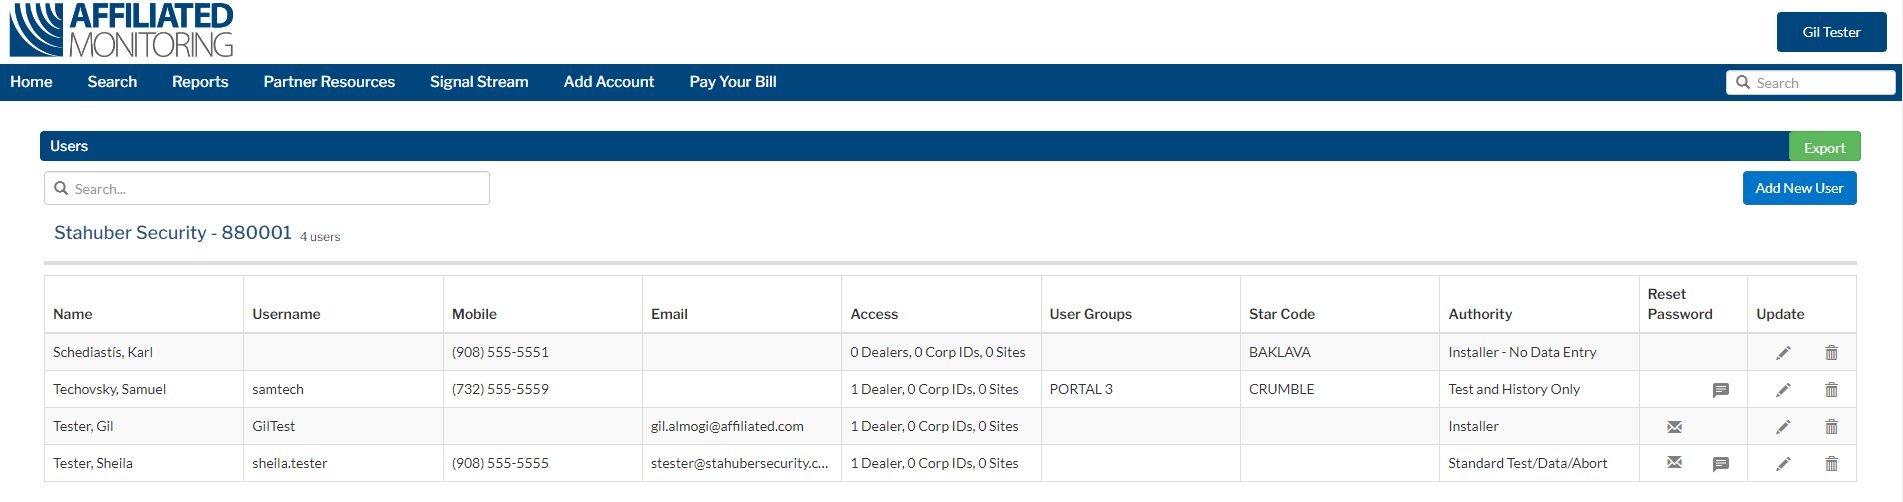
A few seconds after the page loads, the users and contacts for your primary dealer/service company will load, and the page will begin loading any remaining dealers in the background. Each dealer will be labeled by name and dealer number in a collapsible group and will show the number of users listed for each. You can click on a dealer to view the information underneath. Click again to collapse the group.
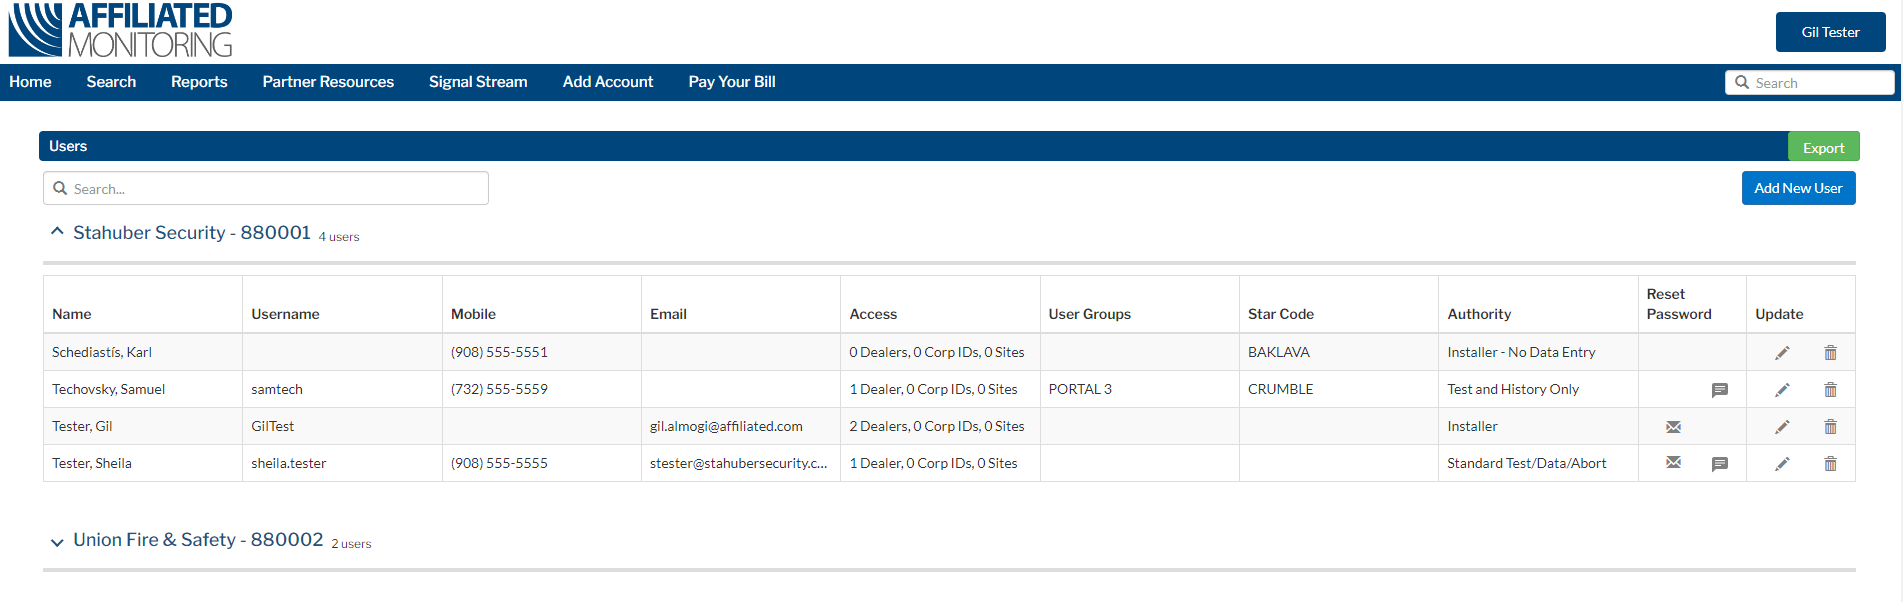
The User Admin page displays the following information:
- Name
The full name of the user or contact as it is stored in our database. - Username
If there is a Portal username, this will be displayed here. - Mobile
The person’s cell phone number. - Email
The person’s email address. - Access
If this person has a Portal username, this column indicates how broad their access is divided into Dealers, Corp IDs, and individual Sites. To view specifics, use the Export feature, which is explained below. - User Groups
For Portal users, this column displays any User Groups assigned. User Groups restrict or add to what a Portal user can do, such as create or edit accounts, contacts, zones, etc. If this column is blank, the user has what we call “Full Access” to the Portal, but they may not have access to special features like Pay Your Bill or User Admin. More information on User Groups is detailed at the end of this page. - Star Code
If this person has an assigned Star Code, it will be displayed here. A Star Code allows someone to call Partner Support about your subscribers’ accounts and possibly place them on test. - Authority
Like User Groups for Star Codes, the Authority determines how much access this person has by calling Partner Support. Installer is “Full Access” in this case. More information on Authority is detailed at the end of this page.
If you only manage one dealer in our database, you will see one table on the page, and you will not be able to collapse the table.
Exporting
If you would like to export the information you see, click on the Export button on the right side of the Users header bar. This will allow you to save a Comma-Separated Value (CSV) file with all your users’ information.
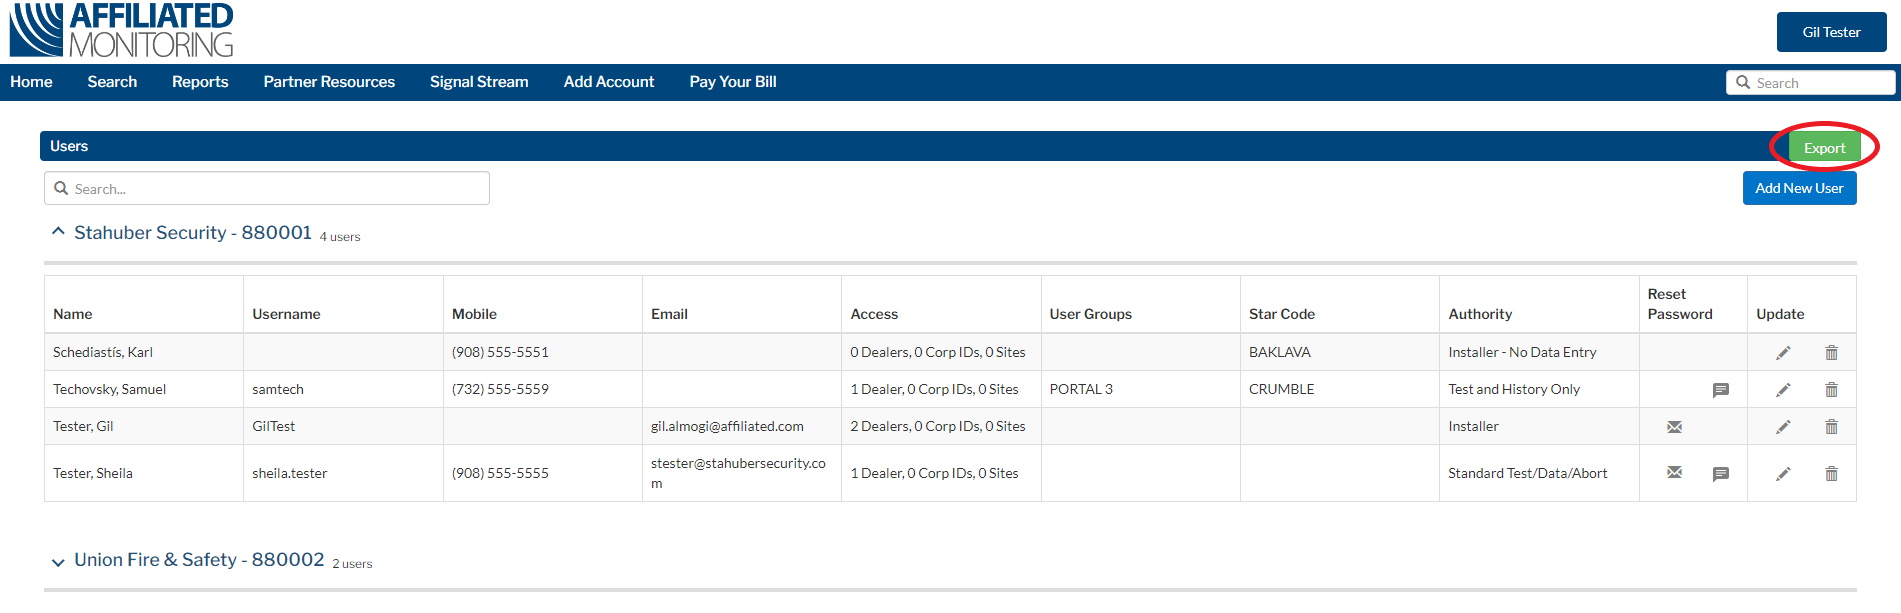
Clicking the Export button will open a dialog, which allows you to choose which dealers you would like to include in the export. By default, all dealers you have access to will be selected.
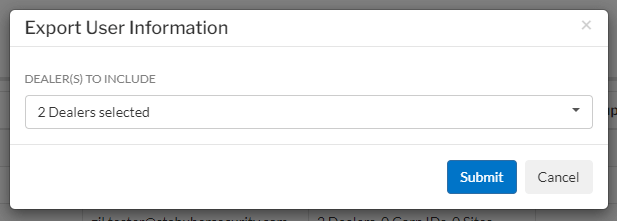
If you’d like to change the selection, click on the drop-down menu and check off the ones you would like.

When you are done making choices, click Done on the drop-down menu, and click Submit on the dialog. Your file will begin generating, and you will be prompted to save it when it is done.

Search
The Search feature allows you to easily find users or contacts based on the displayed information in any column. To use the Search, click in the Search field in the upper left.
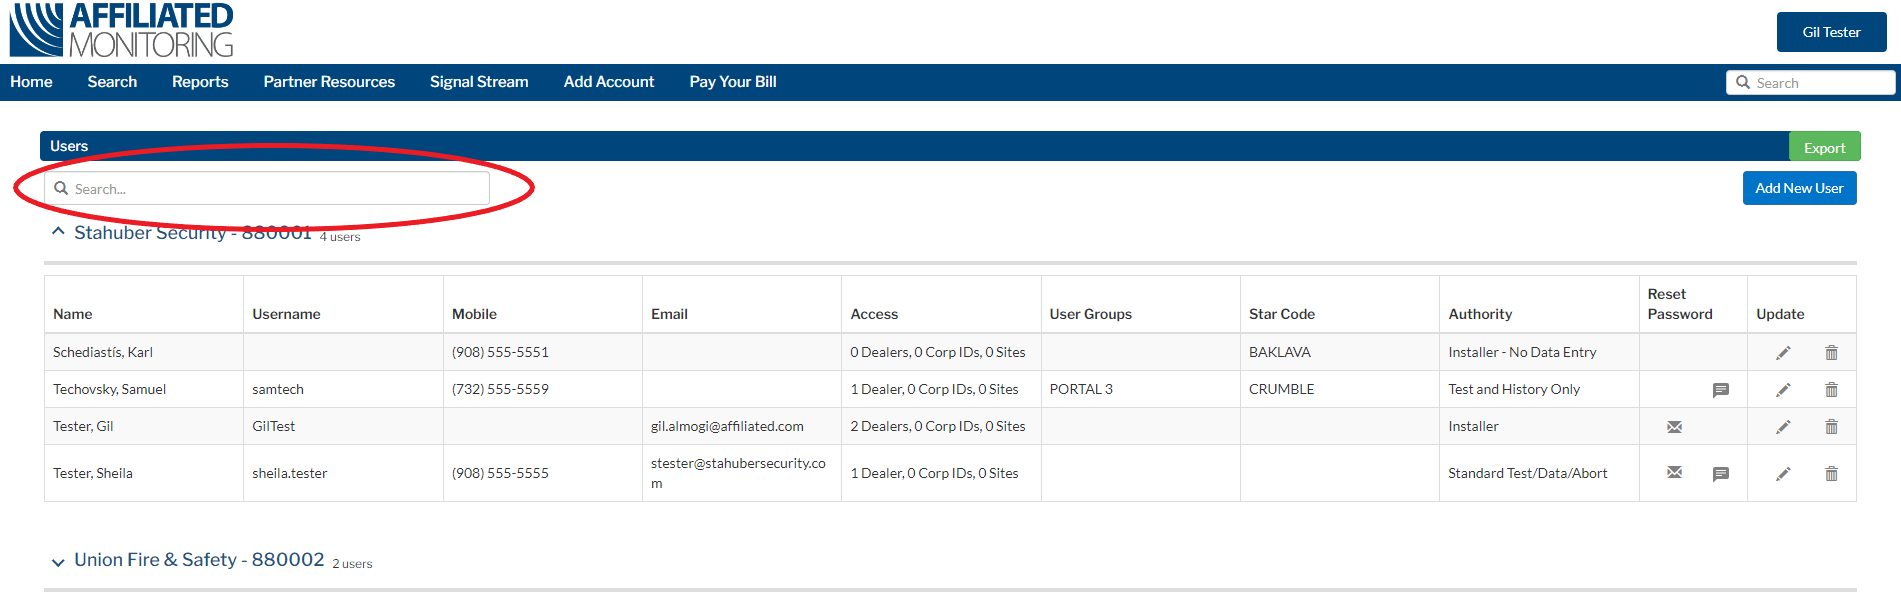
Enter your desired search term, and push Enter on your keyboard. You can use partial search terms if you only know a few letters of someone’s name, for example.

Any and all relevant users will be displayed, and the search term will be highlighted. If you would like to clear the search, click the X button in the Search field, or delete your search term, and push Enter again.
Adding a New User
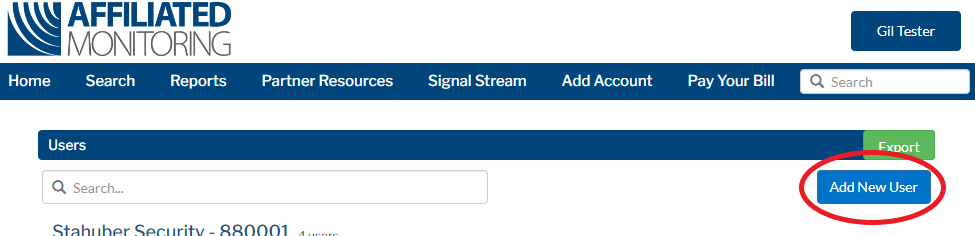
To add a new user, click on the Add New User button in the top right of the page.
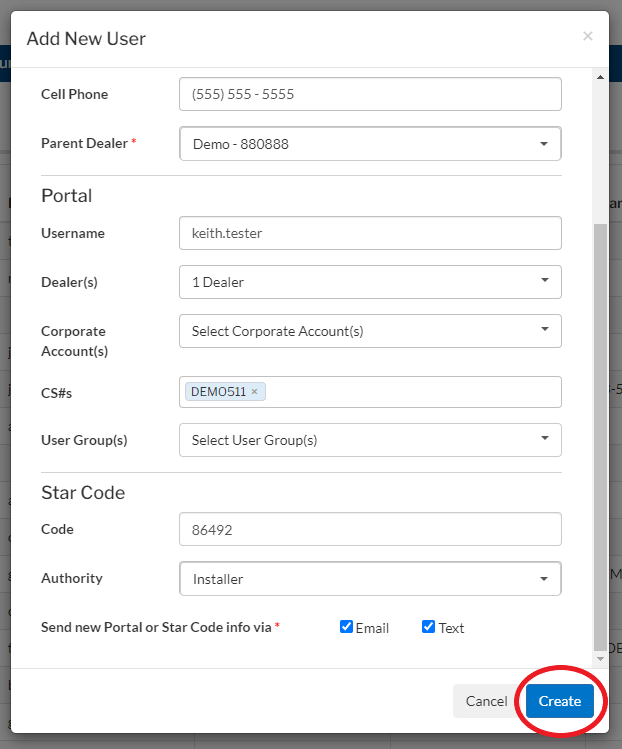
This will open the Add New User interface, which allows you to add Portal or Star Code access. In the first section, you will add basic contact information (* indicates a required field):
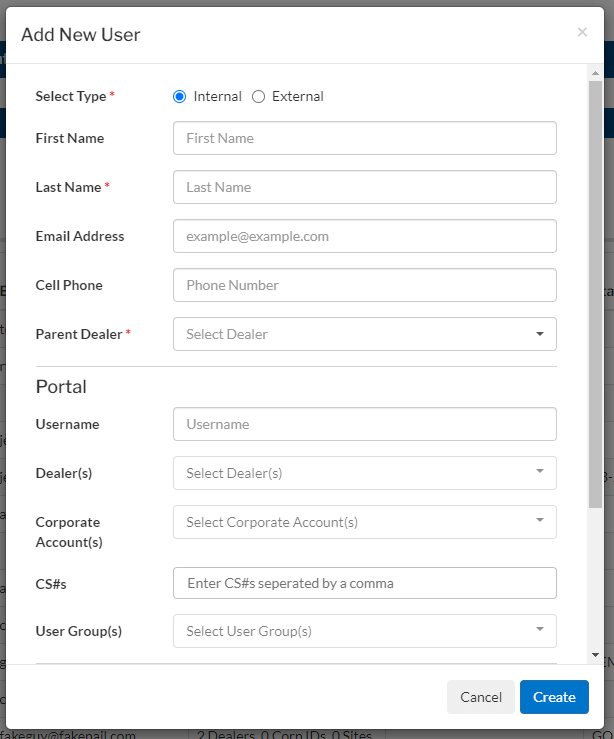
- Select Type*
Use this to indicate whether you are adding a new employee or someone like a customer or vendor. - First Name
The first name of the new user. - Last Name*
The last name of the new user. - Email Address
The new user’s email address. This is required if you are not providing a cell phone. - Cell Phone
The new user’s cell phone number. This is required if you are not providing an email address. - Parent Dealer*
If you have access to more than one dealer number in our database, you will use this to specify which one this contact should be tied to. You may only select one. This does not impact what they have access to on the Portal. That is addressed below.
The Portal section of the form is where you can set up Affiliated Partner Portal access. This section is not required.
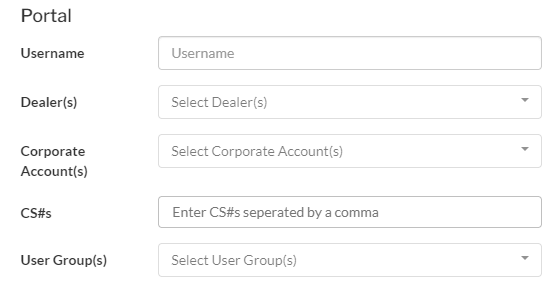
- Username
Enter the desired username for the Portal. After you tab or click out of this field, the Portal may display a message to let you know if the username is unavailable or invalid. - Dealer(s)
Use this drop-down menu to specify which dealers you would like the user to have access to. If you give them access to all dealers, the user will be able to view or update any of your accounts depending on the permissions you give them. - Corporate Account(s)
Use this drop-down menu to specify which corporate accounts you would like the user to have access to. This is a good option for external users or for employees who will only be servicing specific customer bases.Note: It is not necessary to add a Corporate Account to a user’s access if it already belongs to a Dealer assigned to them above. - CS#s
This is where you can provide access to specific accounts. This is handy for customers who only have one or a few sites being monitored, not a whole corporate account.To enter an account, type out the CS#, and then type a comma. The Portal will verify that you have access to the account, and if you do, you’ll see it turn into a little label with an X to remove it. You can enter multiple CS#s this way.

In this example, the user is typing, “demo511,“. You can see the update when the user types the comma. - User Group(s)
This drop-down menu will let you select one or more user groups to assign to the user. Some user groups add permissions, such as Billing, and others remove them, such as END-USER 1. The menu includes descriptions to aid you with your choices.You may assign more than one group to a user, but take caution that a group that removes a specific permission takes priority over one that adds it. You do not have to assign any user groups to users with whole dealer access. A user with no groups will have general access to activate, deactivate, and edit accounts.
Please refer to User Groups list below for more information on common user groups..
The Star Code section of the form is where you can set up a star code for the user, allowing them to call Partner Support or other Affiliated teams for assistance. This section is also not required.
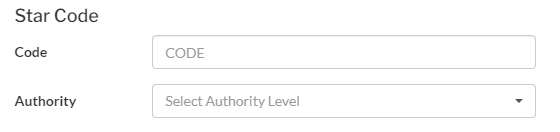
- Code
Star codes can only contain letters or numbers, no spaces or special characters. - Authority
If you set a star code, you must select an Authority. Generally, you will select Installer for broad phone access.
If you set up Portal or Star Code access, you will be able to choose to send the new information directly to the user via email or text or both. These checkboxes will automatically be selected depending on the information provided. At least one option must be chosen to finish.
When you are done creating your new user, you can click on the Create button at the bottom of the form.
Upon successful creation of a new user, you should see a confirmation message at the top of the User Admin page.
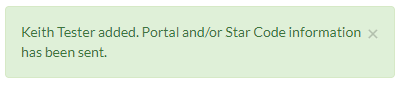
The Portal will send a notification to the user advising them of who created the user, the company that created the user, their new Portal username and where they can go to set their password (if applicable), and their new star code (if applicable).
Editing a User
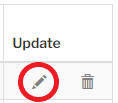
To edit a user, click on the pencil icon on the row with their information.
The Edit User interface is almost exactly the same as the the Add New User interface described above. Just make any changes you need, and click Save at the bottom of the dialog window. If the user does not already have Portal or Star Code access, you can add it here without needing to create a new user entirely. After adding access, the Portal will notify the user appropriately just like when you create a new one.
You can also delete Portal or Star Code access without deleting the user entirely by clicking on the respective links.


If you click either one of these, the settings for the respective access will be cleared out, and you will not be able to edit that section further. If you wish to commit to deleting the access, you will need to click Save. If you change your mind, you can click Cancel to revert back to how the user was before.

Sending a Password Reset Notification
Portal users can reset their own passwords by clicking the Forgot Your Password? link on the login page. However, you can issue reset requests to your users on this page. The Reset Password column will display an email or text icon for users with Portal access.

Click either one to issue a password reset notification to the user via the selected notification method. The Portal will display a confirmation that the notification has been sent.


Deleting a User
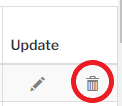
To delete a user, including Portal and Star Code access together, click on the trash can icon at the end of the row for the user you are trying to delete.
This will display a confirmation dialog asking you if you are sure so that you do not delete someone by accident.
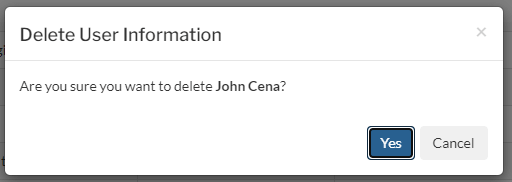
If the user has any scheduled reports, you will see a message indicating how many they have. You may want to check with Partner Support before deleting a user with scheduled reports just in case you have customers relying on them. Deleting the user will end the subscriptions.

Click on Yes to continue deleting the user.
You will see a message at the top of the User Admin page letting you know the user is being deleted. Depending on how many reports the user had scheduled, this message may remain for a while. It is safe to navigate to a different Portal page if you do not want to wait for confirmation.

Once the user is fully deleted, the Portal will display a confirmation.

Common User Groups and Authorities
This section will serve to explain the most common user groups and authority levels you will encounter on the User Admin page. This is not a complete list of all the possible options. If you have any additional questions about this or other information on the page, please contact Partner Support for assistance.
User Groups
- admin – This adds access to the User Admin page.
- Billing – This adds access to the Pay Your Bill page.
- PORTAL/PERS 2 – Full access except for Reports
- PORTAL/PERS 3 – Read-only access with Reports and On/Off Test. Suggested for field technicians.
- PORTAL/PERS 4 – Read-only access with Reports but no On/Off Test.
- PORTAL/PERS 5 – Read-only access with On/Off Test, but no Reports.
- PORTAL/PERS 6 – Read-only access. No Reports, no On/Off Test.
- [PERS] END-USER 1 – Restricted access except for Site Phone Edit, Passcode Edit, Contact Edit, On/Off Test, and Reports. Cannot add, activate, or deactivate accounts.
- [PERS] END-USER 2 – Restricted read-only access with Reports and On/Off Test, no editing capabilities.
Authority
- Installer – This is essentially full access when calling Partner Support. Callers with this access can get any information about subscribers under the dealer they are assigned to, put systems on test, and request Data Entry changes (by phone or email).
- Installer – No Data Entry – Callers with this access can get any information they want and put systems on test, but they cannot request changes over the phone or by email.
- Test and History Only – This person can only place systems on test and request a verbal breakdown of any signals that came in, no other information and no changes.
- Standard Test/Data/Abort – With a star code, this authority level is the same as Installer. It is the default authority level assigned when a Portal user is created.