Partner Portal Guide: On/Off Test
The On/Off Test section of the Partner Portal allows you to place an account on or off test for a set period of time. All specified signals received during this time will be logged in the history and no further action will be taken.
Placing an Account on Test
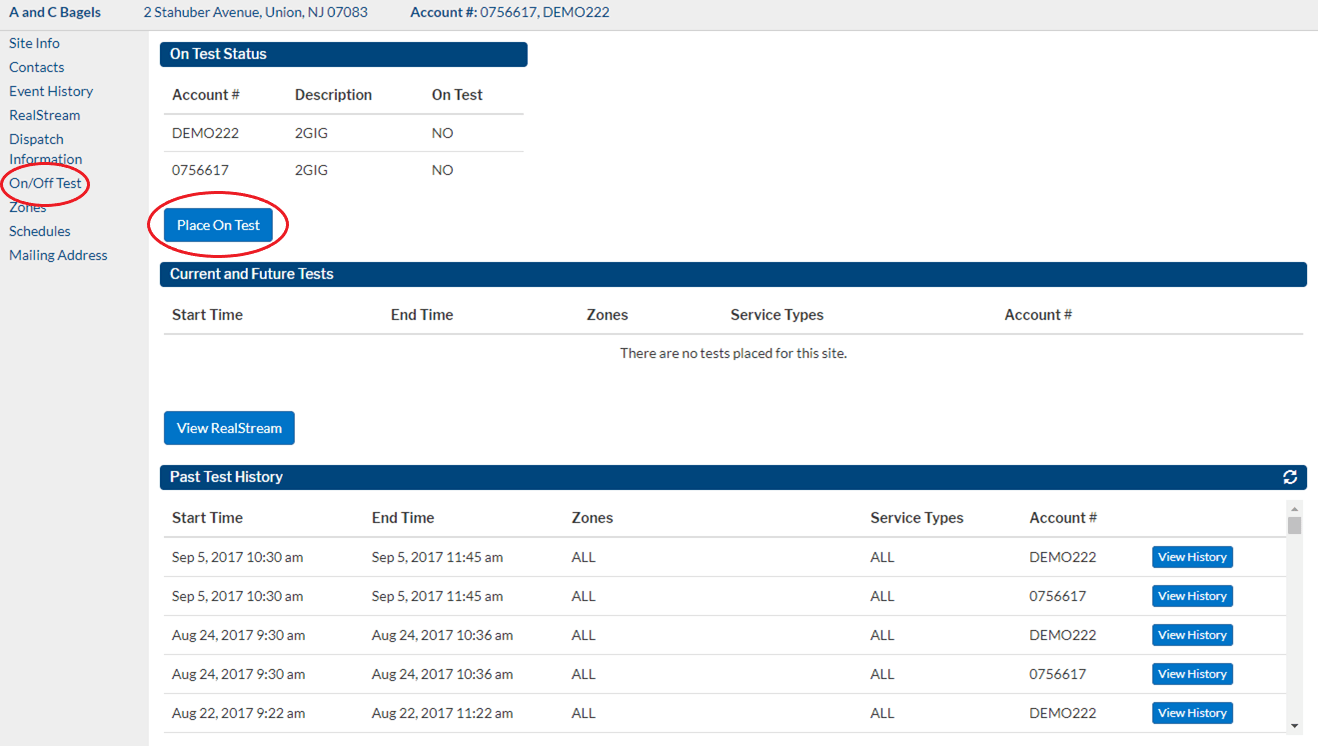
In the Partner Portal, go to the account that you would like to place on test. Click the On/Off Test link from the menu on the left hand side of the screen.
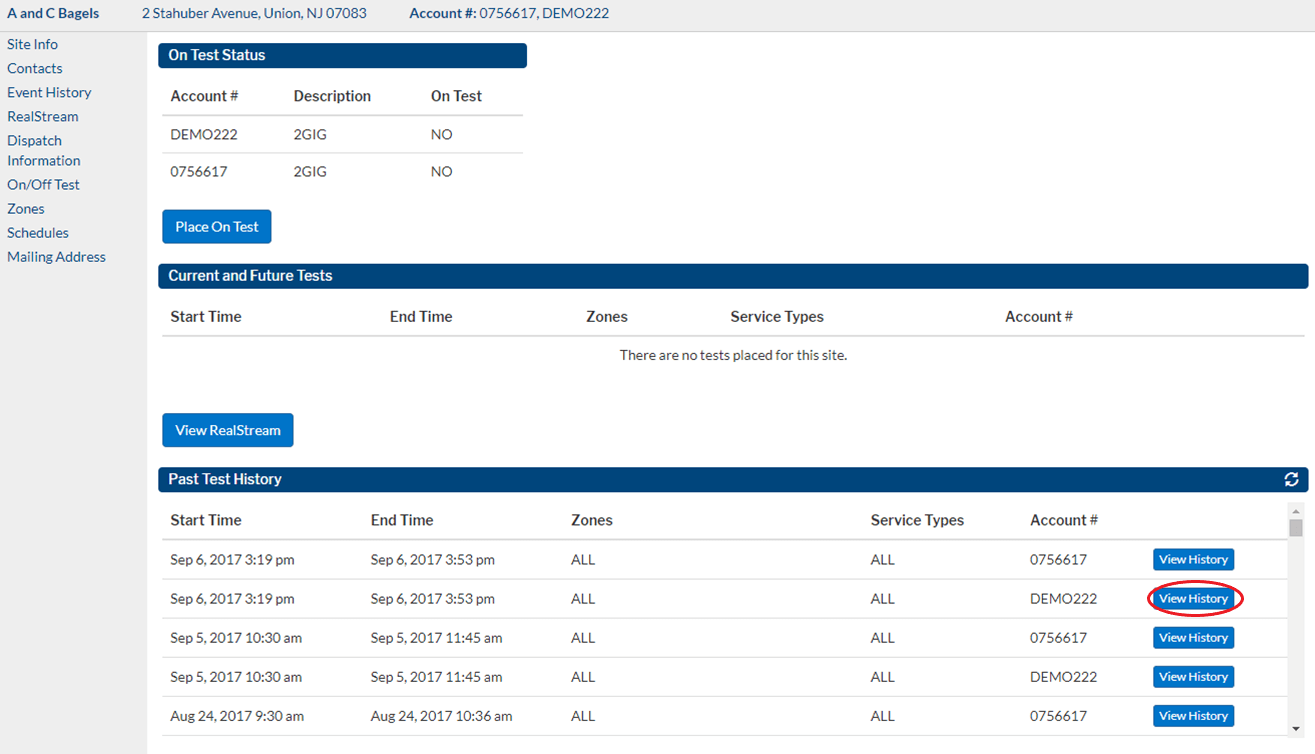
The top section of the On/Off Test page indicates the current test status of the account. You will then click the Place On Test button to continue.
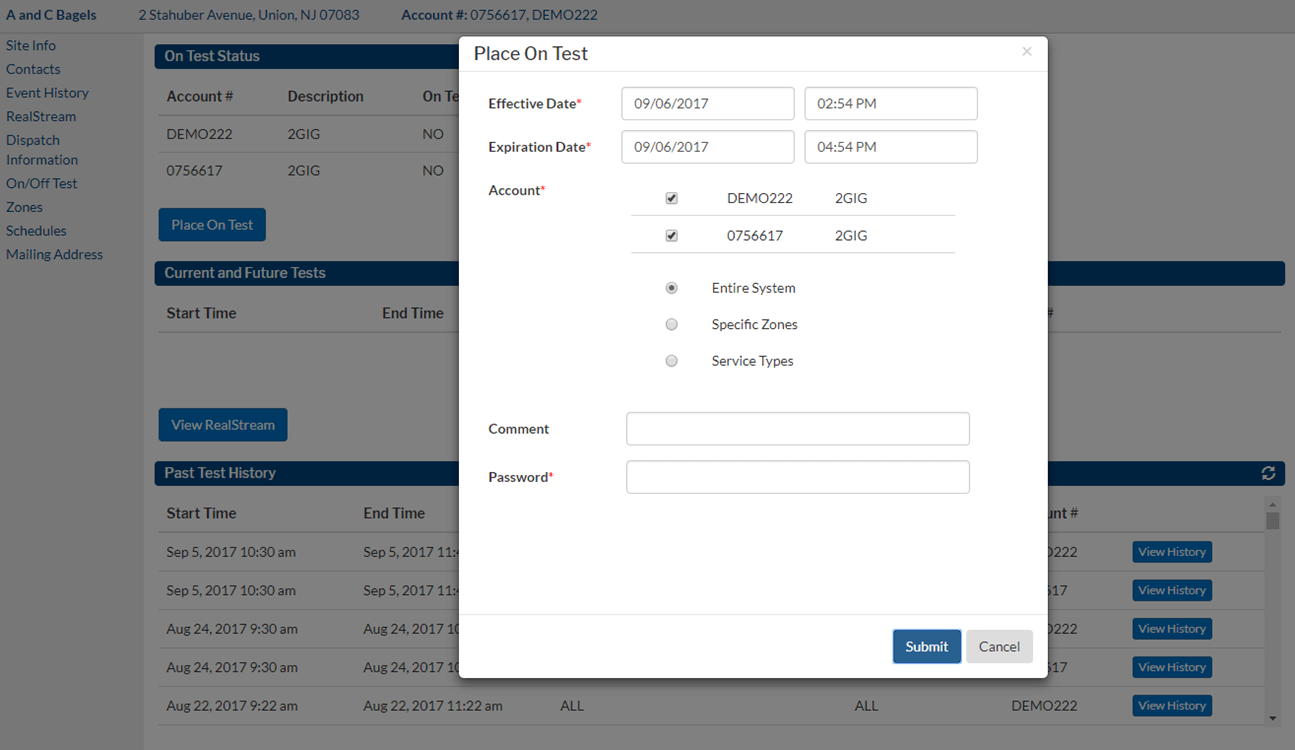
From here you will add the following information(* indicates a required field):
- Effective Date*
This is the date and time that you want the test to start. You can use the date or time pickers to enter the Effective Date, or you may manually type each value in. You may even type the time in 24-hour/military format, e.g., 16:30 for 4:30 PM.Note: You have the ability to place a future test from this section. - Expiration Date*
This is the date and time you want the test to end. The Partner Portal automatically defaults to have the system on test for 2 hours. The maximum amount of time an account be placed on test via the Partner Portal is 30 days. This setting can also be manually typed as mentioned for Effective Date. - Account*
Check the box next to what Account Number you are placing on test. If there are two accounts linked to one site, both will display. The Partner Portal automatically defaults to have all systems associated with this site on test, but you also have the ability to select specific zones or service types if necessary. - Entire System
The Partner Portal automatically defaults to have the entire system on test. - Specific Zones
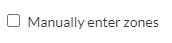
If this option is selected, a zone list drop-down window will populate. From here you have the ability to select any zone that would be noted on the zones page.If you need to put a zone or signal on test that is not included in your system’s zones list, you have the option to manually enter one by clicking the “Manually enter zones” checkbox.
After clicking this, you will be prompted to enter a comma-separated list of zones or signals to put on test.
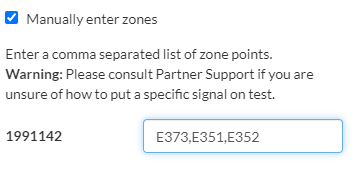
If you are unsure of how to use this feature properly and safely, we recommend contacting Partner Support for guidance. - Service Types
If this option is selected, a drop-down window will populate with a list of all available service types. From here you have the ability to place a specific event service type on test. For example, if you need to place all Trouble conditions on test, you can do so by selecting ‘Trouble’ from the drop-down window.Note: Please be advised if specific zones or service types are selected, any events received outside of the specified criteria will be handled by an operator. - Comment
This is not a required field but can be used to indicate the reason you are placing the system on test (ex. initial installation, service call, etc.). - Password*
Enter in your password for the Partner Portal to confirm that the system should be placed on test.
Once all required information has been completely entered, click Submit. The page will then refresh, and the test will show up under ‘Current and Future Tests’ section. You will also notice that the color of the account number changes to green which indicates the system is now on test. This is a quick way to determine if a system is on test from any page within the account.
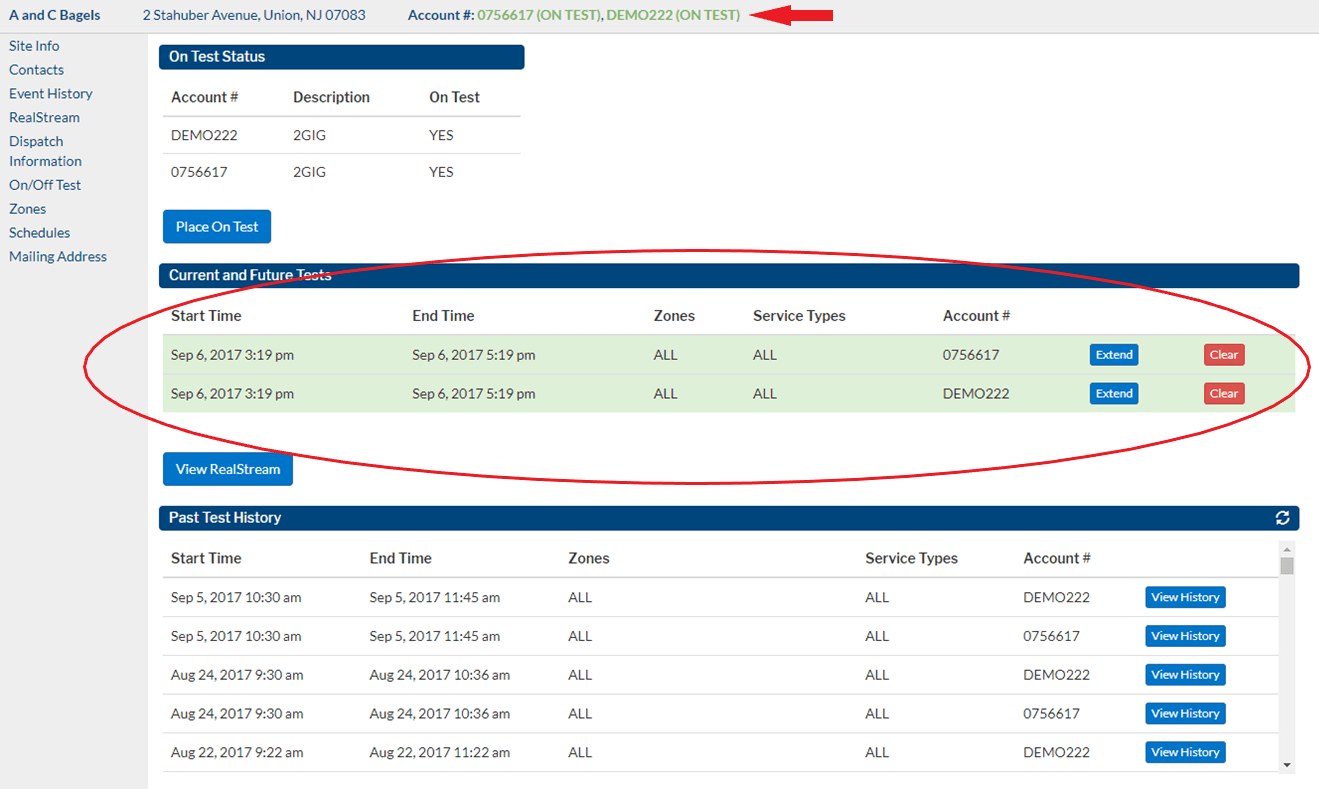
Extending a Test
Under the ‘Current and Future Tests’ section you are given the ability to extend the time of a current test. To proceed, click the Extend Button.
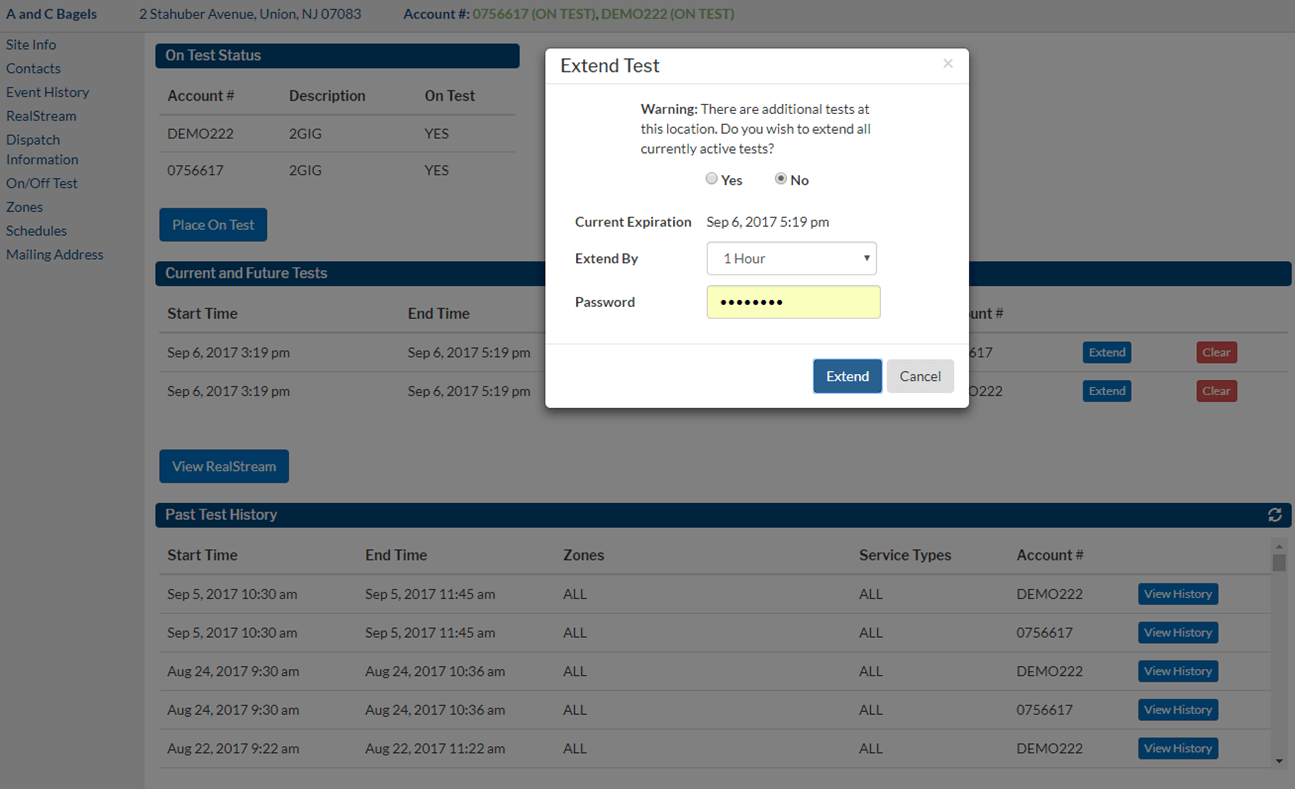
From here you can indicate if you wish to extend all active tests on this account or just the one you selected. You will then choose how long you want to extend the test. The maximum amount of time you can extend the test is 30 days. Enter in your password for the Partner Portal to confirm that the system test should be extended. Click Extend.
Clearing a Test
Under the ‘Current and Future Tests’ section you have the ability to clear a test prior to the expiration date and time. To proceed, click the Clear Button.
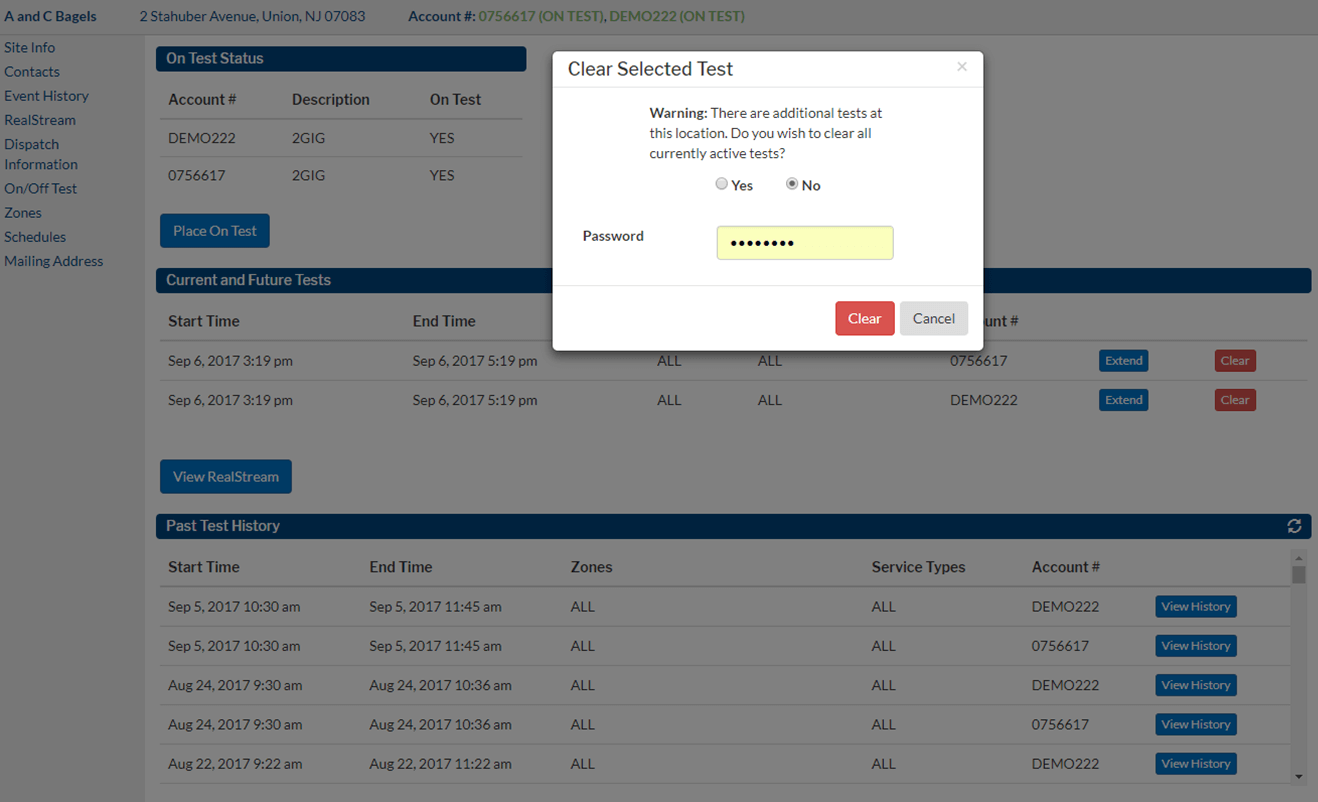
From here you can indicate if you wish to clear all active tests on this account or just the one you selected. Enter in your password for the Partner Portal to confirm that the system test should be cleared and brought back to normal monitoring status. Click Clear.
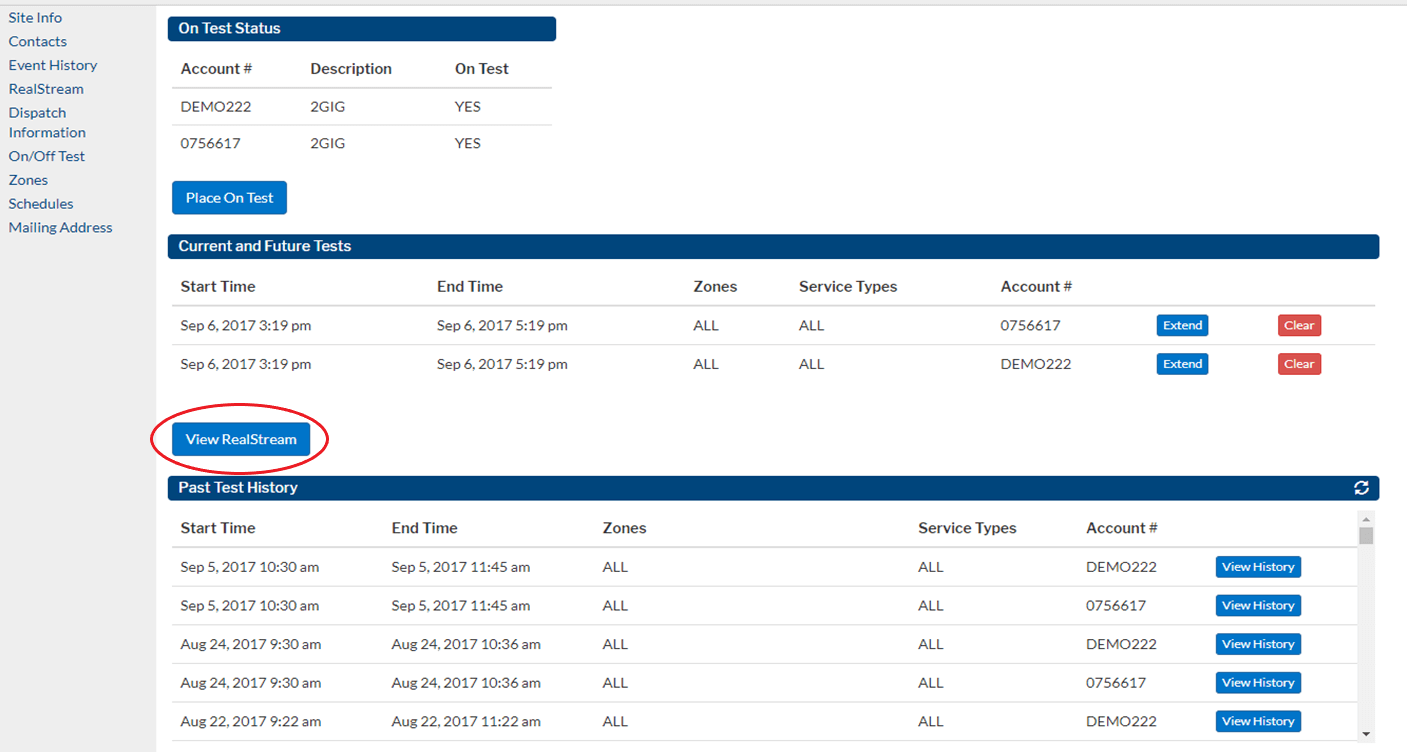
Viewing RealStream
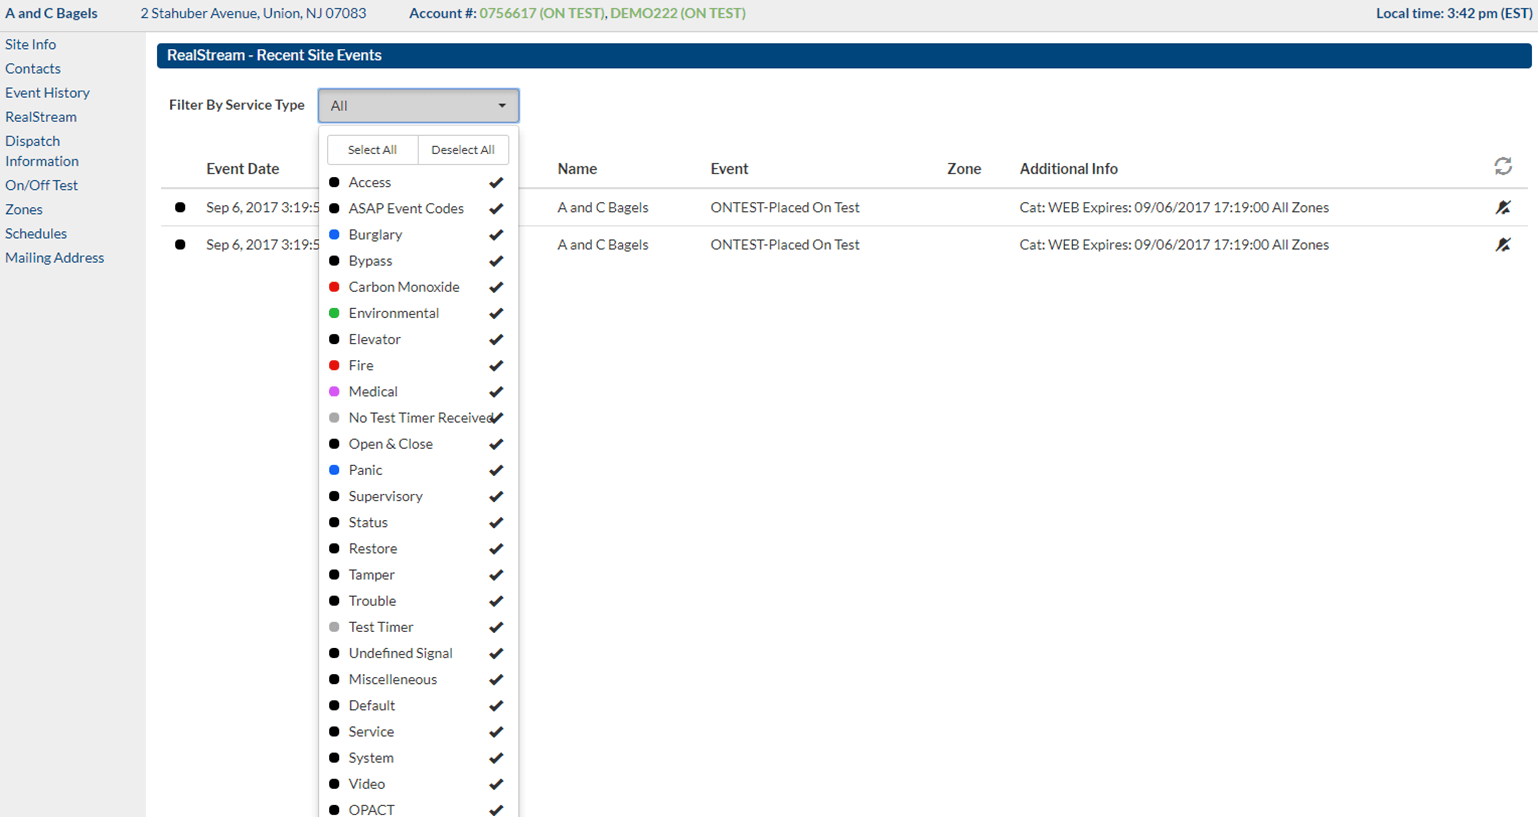
To view the signals being received by Affiliated on this account while the system is on test, click the View RealStream button.
The page will refresh to show you recent signals received from the location. This page will refresh automatically or you can click the refresh icon the on right hand side. You also have the ability to filter the signals being received by Service Type as shown below.
Past Test History
This section allows you to see every time this account has been placed on test in the past. To view the history on a past test, click the ‘View History’ button.
This view will show you all signals received while the system was on test during that specific time frame. Additionally from this section you have the ability to export the event history by clicking the Export link in the top right hand corner. This will then download to your computer as a CSV file.
